The asset library
The Assets tab is where you work the library: add targets, review what scans found, and record the boundaries the scanner must respect.
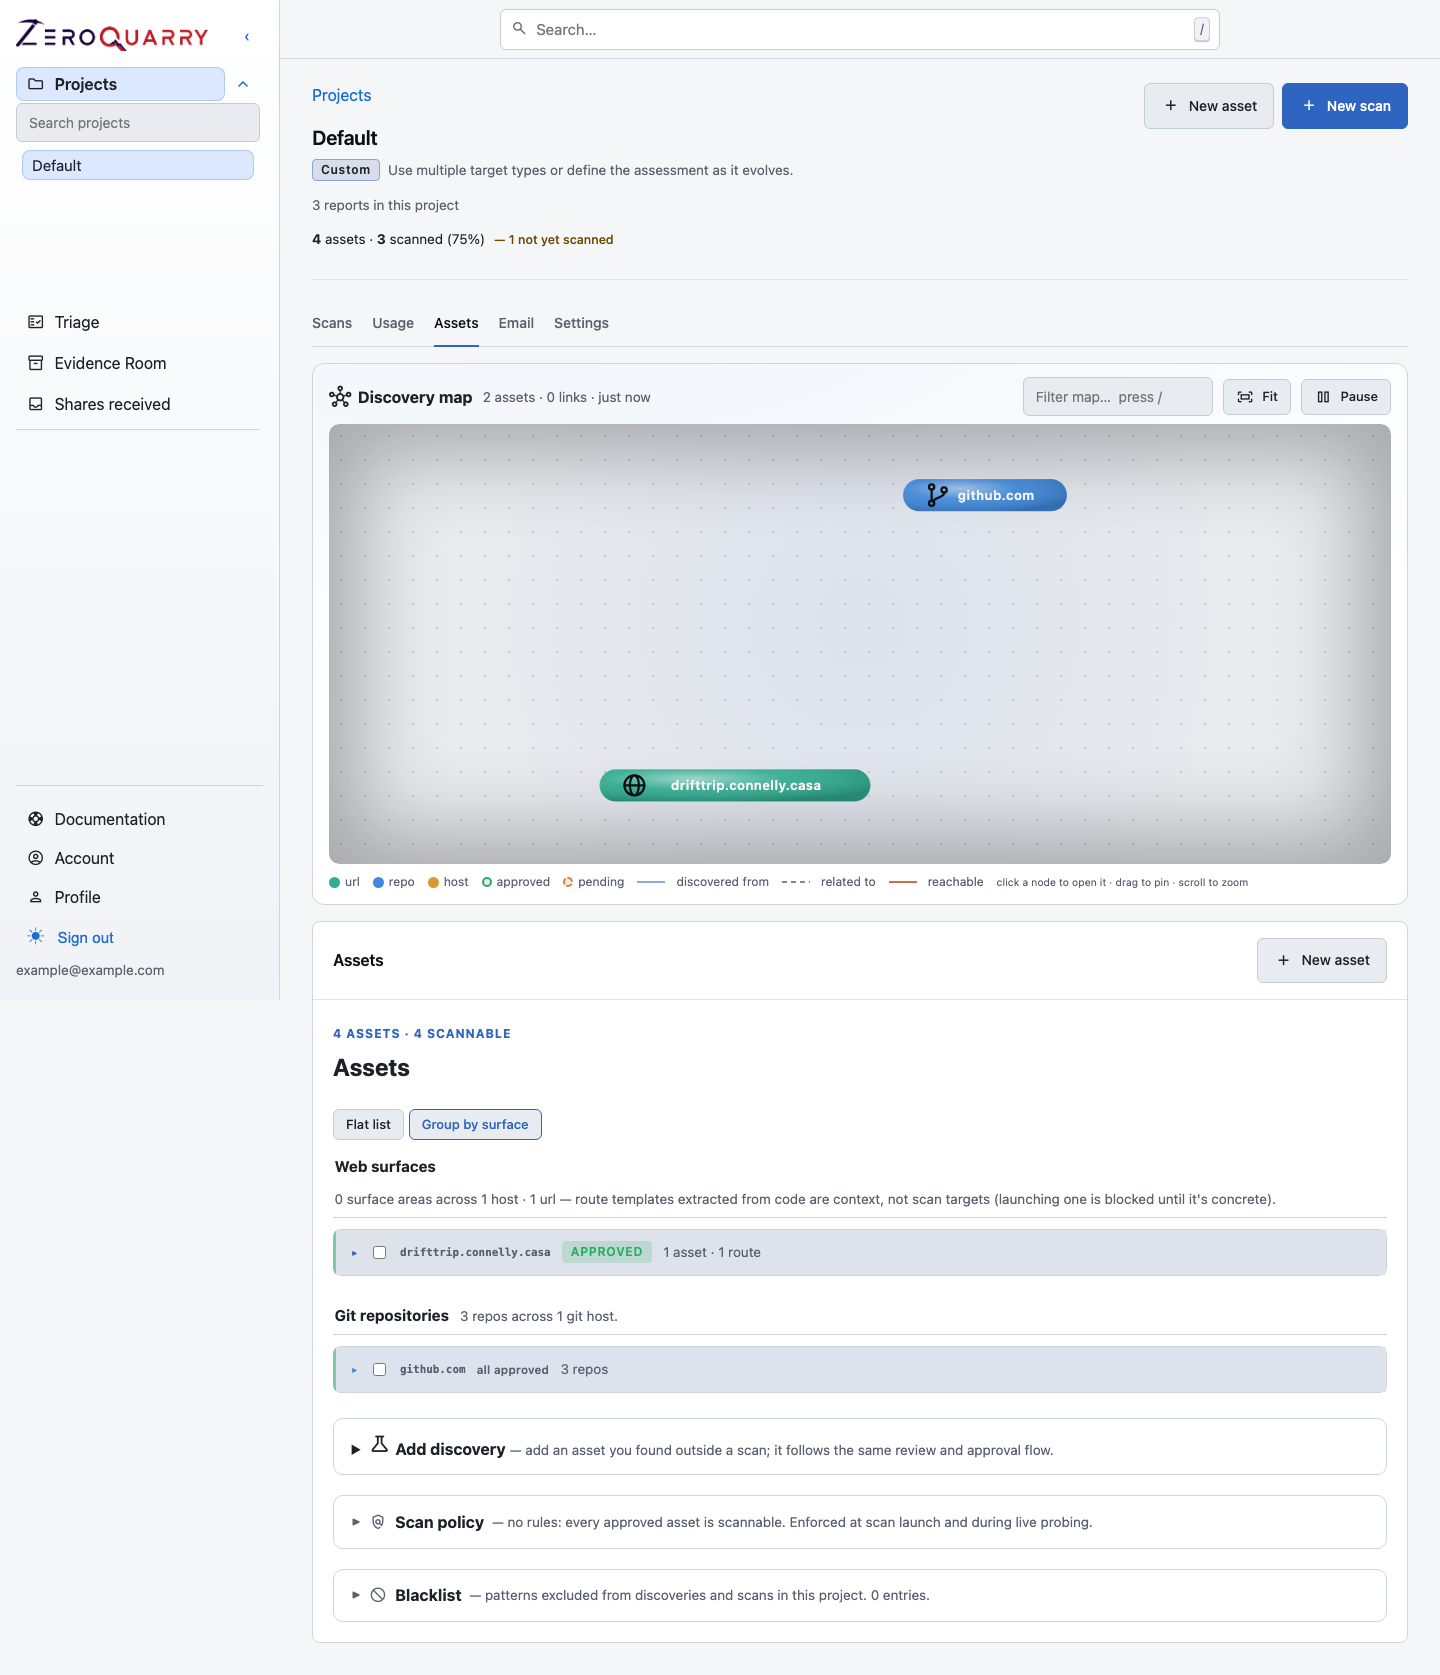
The map is a viewer. The table below it is the working surface.
Add an asset
- Open the project and select the Assets tab.
- Choose New asset.
- Pick the kind that matches the target.
- Fill in the connection details. Auth is optional — add it when scans should authenticate.
- Review and save.
For URL assets, scope hosts limit where remote probes may land. Add every approved host explicitly when a target crosses subdomains or API hosts. The scanner enforces the boundary at launch and on every probe, including redirects, so scope hosts are a control rather than documentation.
You can also add something the scanner found rather than typed it in. Add discovery takes a candidate and puts it through the same review and approval flow as a hand-entered asset.
The discovery map
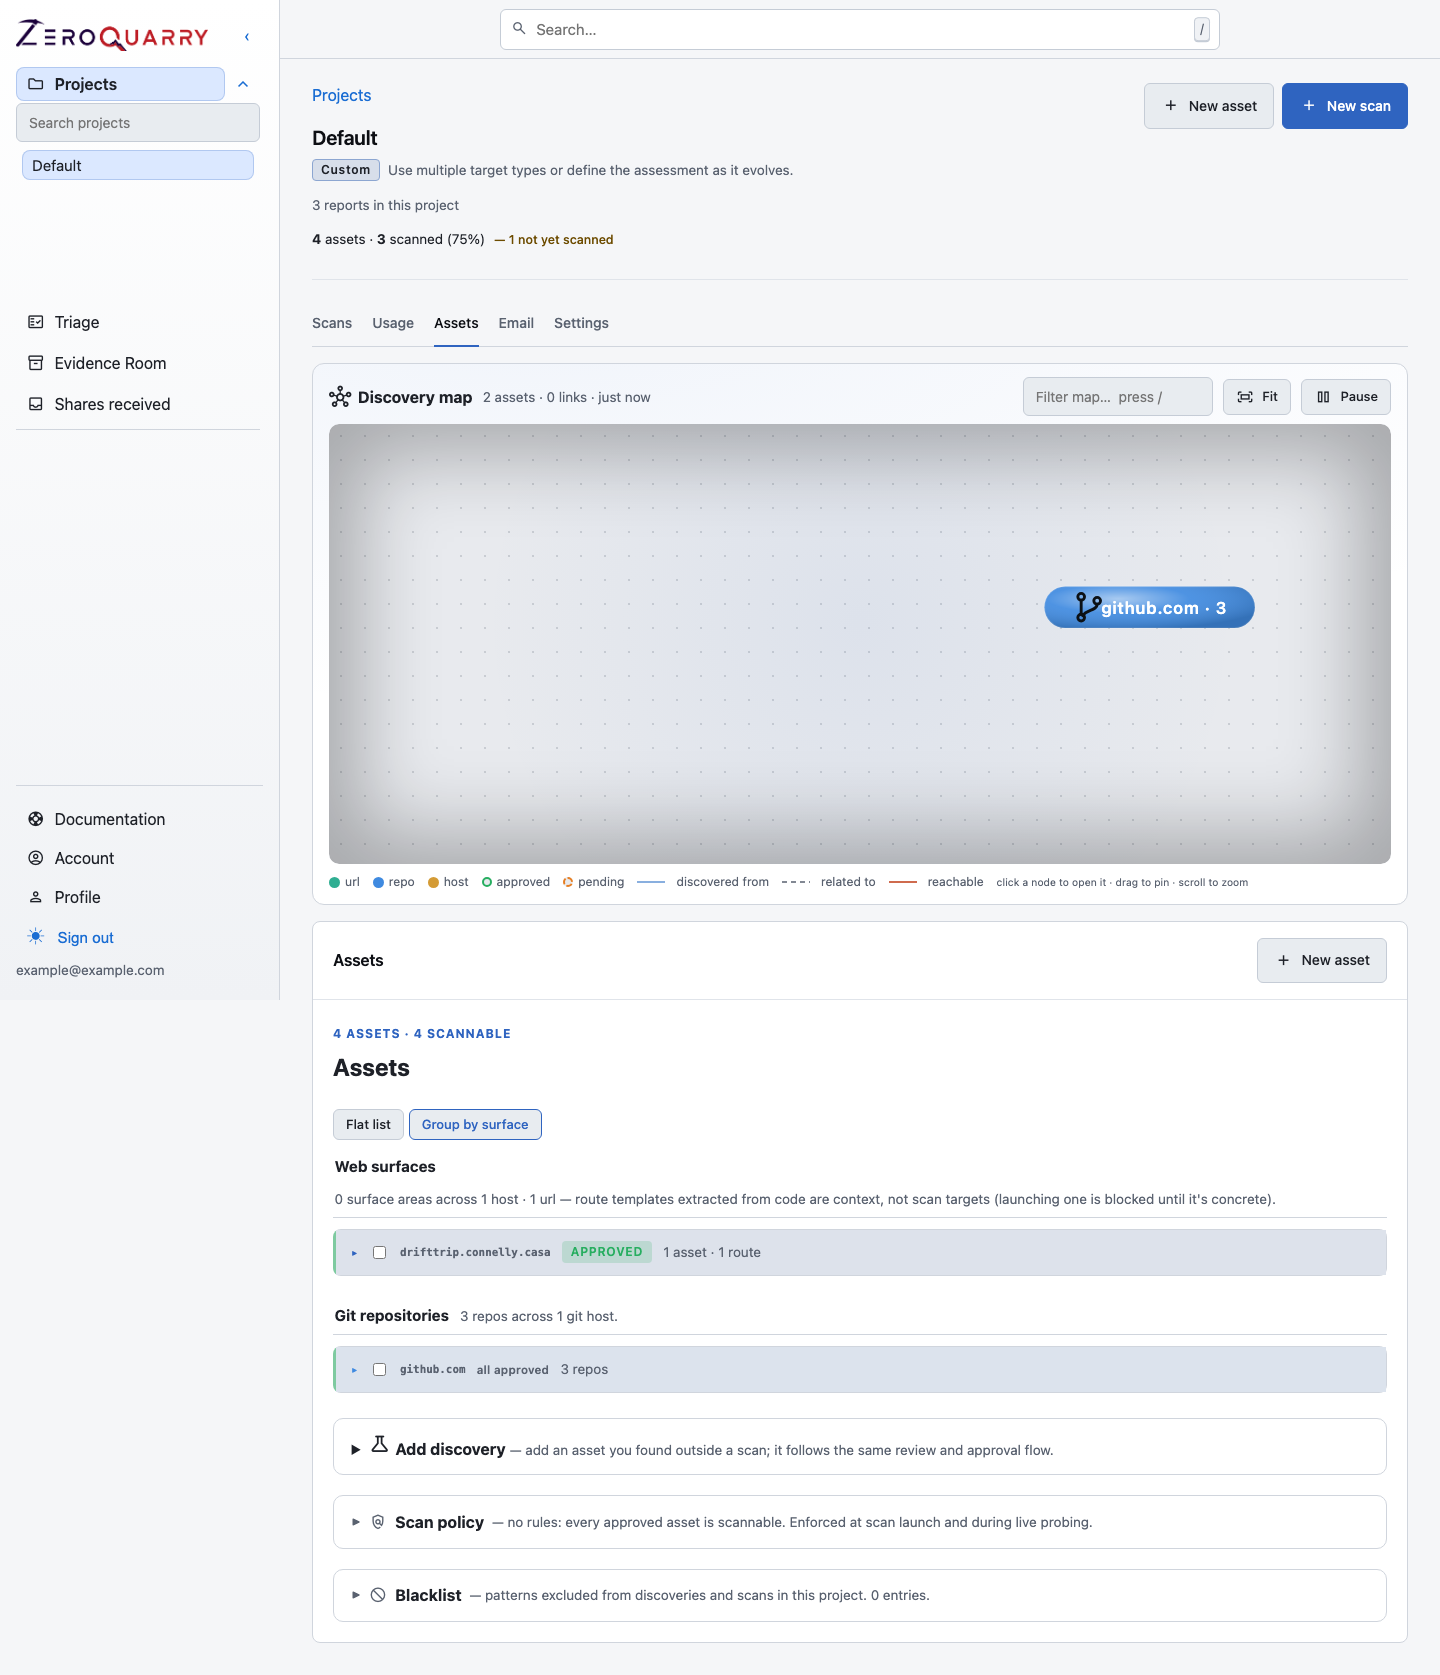
The Assets tab opens with a force-directed map of the project's assets. Nodes are grouped by kind, arrows show discovery provenance, and rings distinguish approved from pending assets. It updates while scans run, and clicking a node opens that asset's detail page.
The map, the flat list, and the surface grouping are three views of the same records. Use whichever one answers the question in front of you.
The asset detail page
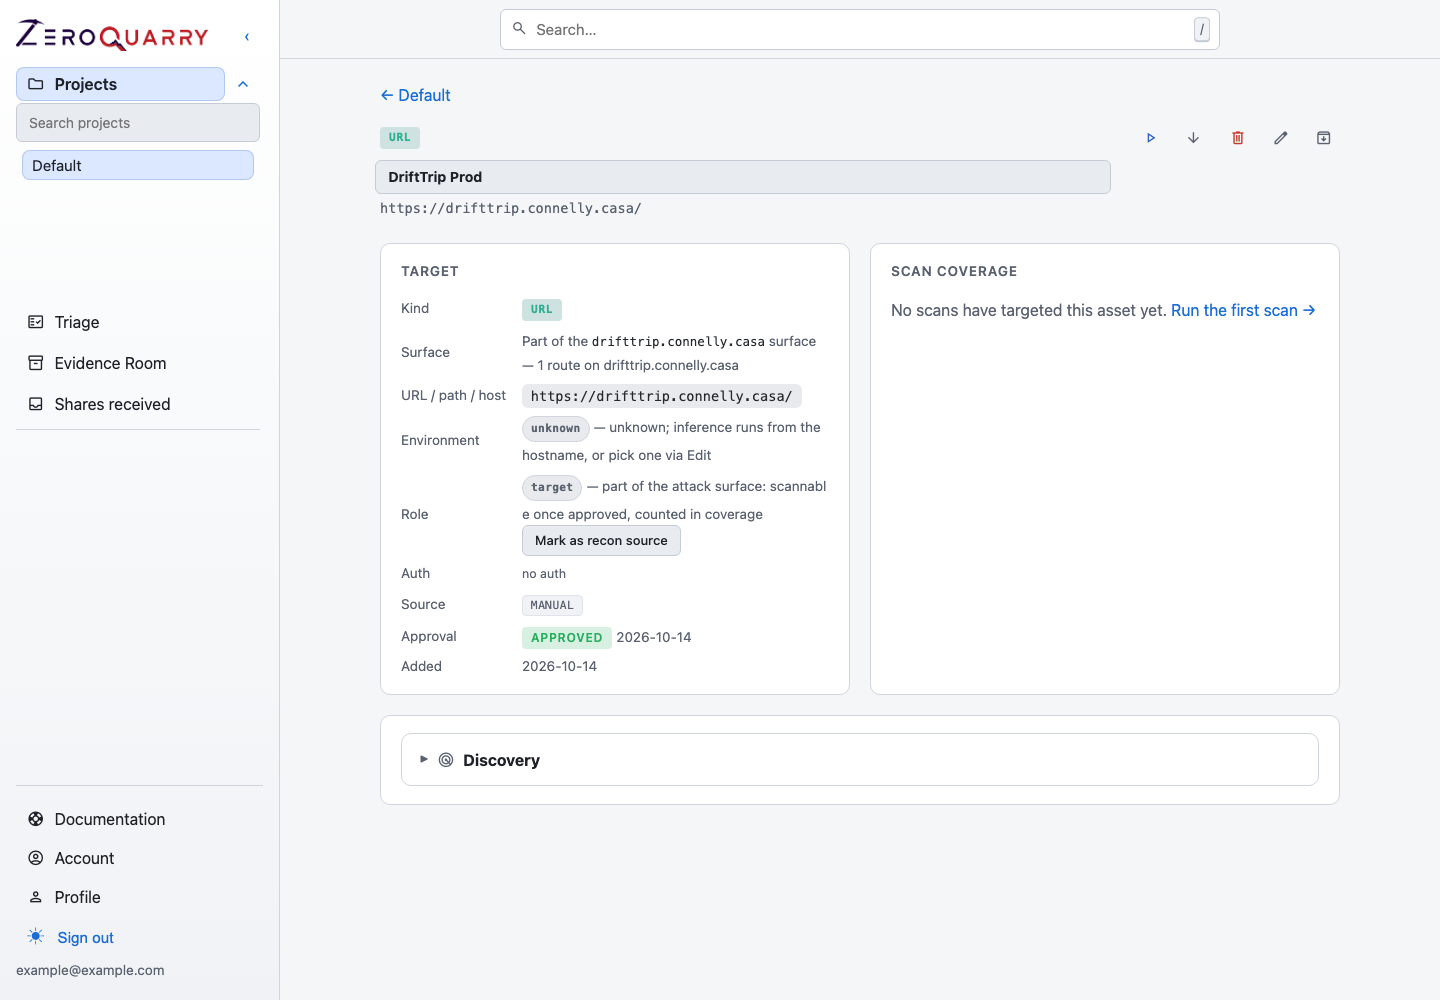
An asset's detail page carries the connection details, the authentication shape, and the scan coverage that asset has accumulated — which scans targeted it, what they found, and what was never reached. It is also where you run a scan against that one asset rather than the project as a whole.
Group by surface
The table can group assets into surfaces rather than listing them flat. One
code scan of an application can surface hundreds of URL assets —
/admin/accounts/<id>, /admin/accounts/<id>/billing, and so on — which are
really two surfaces an operator thinks about: an admin area and an API area.
Surfaces are computed rather than stored, so a rescan clusters identically and a host rewrite re-keys everything for free. See Discovery for how the grouping decides what is a parameter and what is an area.
Bulk operations
Select rows in the table to act on several at once:
- rewrite a host or
host:portvalue across the selection - change kind across the selection
- approve, ignore, or delete
- add tags
Bulk host rewrite is the main reason identity handling exists: changing
staging.foo.com to prod.foo.com across forty assets has to keep them
deduplicated against the URLs that scans discovered, rather than leaving two sets
of rows pointing at the same thing.
Ignored assets are hidden from the feed but kept for audit. Deleting an asset does not delete the scans or findings that covered it.
Scan policy
Scan policy records which approved assets are actually scannable. With no rules every approved asset is scannable, and enforcement happens at scan launch and again during live probing.
Policy is what stops an approved-but-regrettable asset from being swept up in a routine scan. Approval says the asset exists; policy says whether you want it tested right now.
The blacklist
The blacklist is the other half: patterns excluded from discovery and from scans in this project. It applies at record time, so a document or a spec that names an out-of-scope host cannot widen the boundary just by being ingested.
Assets and uploads
Asset rows can be referenced from elsewhere with a zeroquarry:// URI, so a
finding, a note, or a chat message can point at an asset without carrying a URL
that might not survive a host rewrite.
Next
- Discovery — how assets are found, labelled, and approved.
- The asset graph — reachability, lineage, and coverage.
- Run a scan against an asset from its detail page, or start from Source code scans or Remote target scans.