Run your first scan
This guide walks through a first source scan in the ZeroQuarry cloud console. The point is not just to click through the form. The point is to create a small, reviewable report and learn how ZeroQuarry moves from target, to findings, to follow-up.
Source scans are the safest starting point because they do not send traffic to a live target.
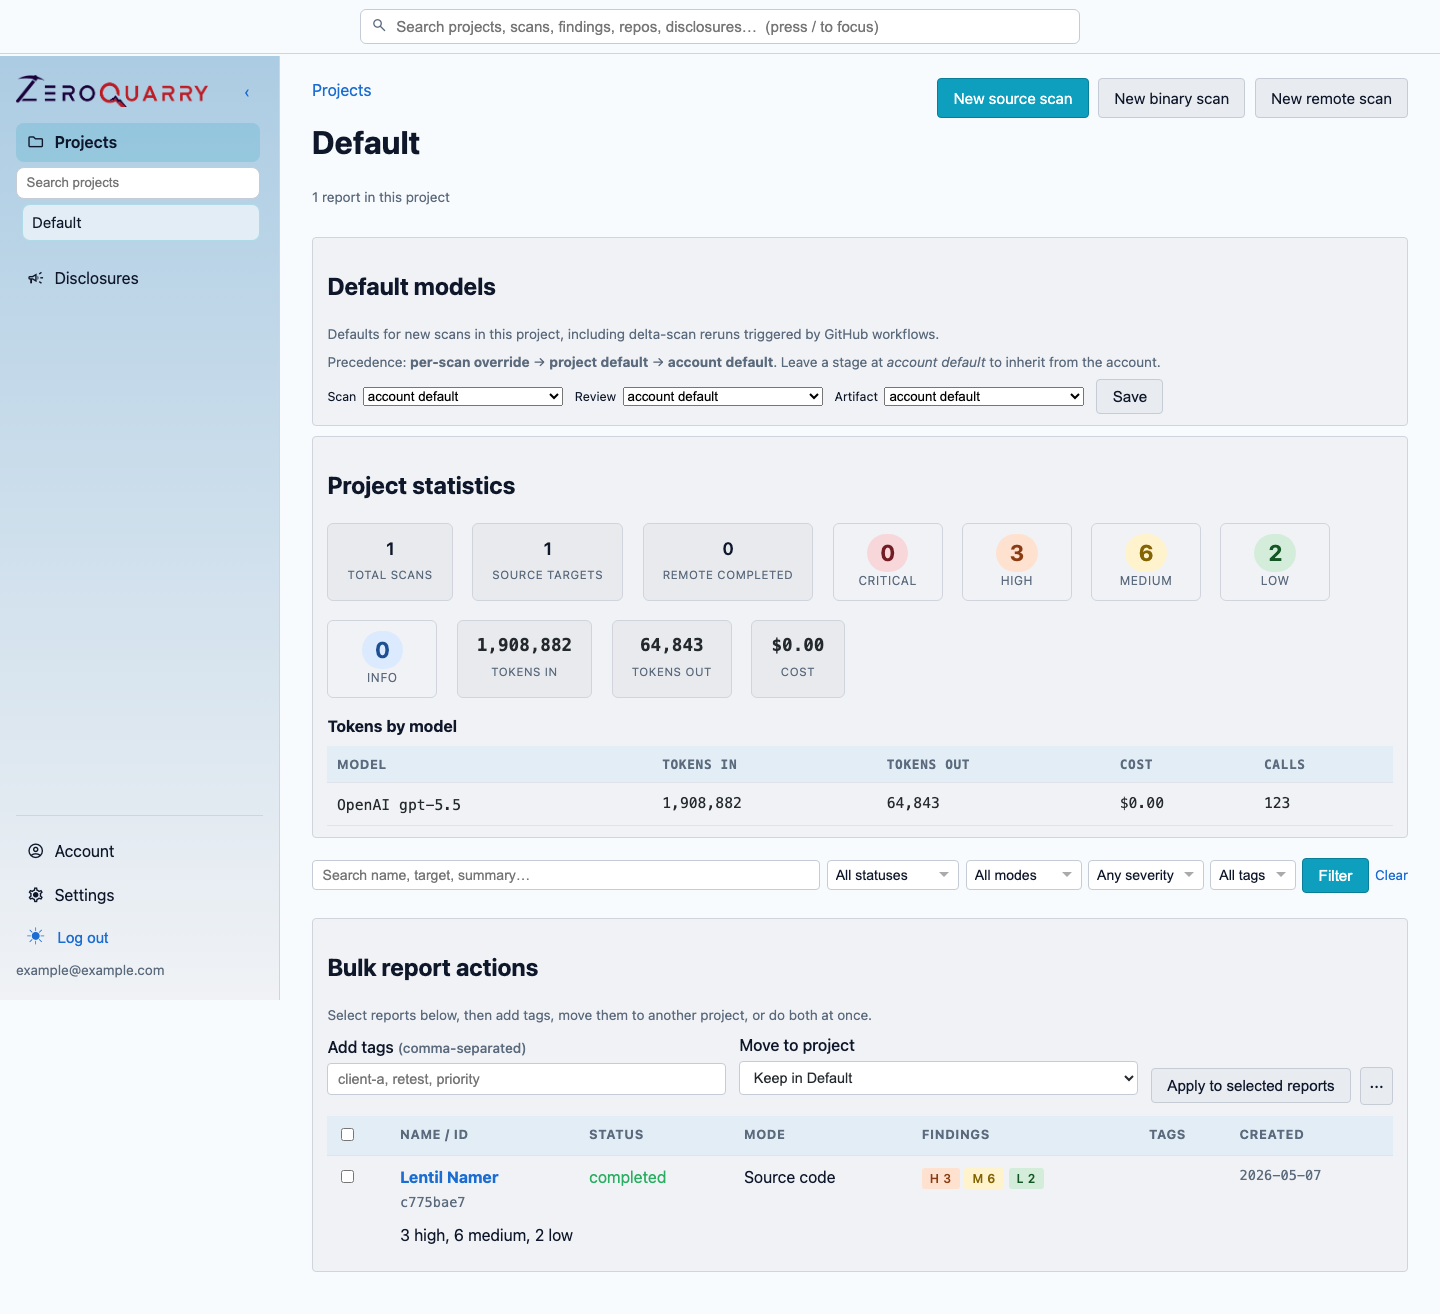
The default workspace landing page routes you into your current project so you can start from recent scan history instead of a blank home screen.
Before you start
You need:
- access to console.zeroquarry.com
- a project or repository that you are authorized to assess
- an available LLM model in your workspace
- Git credentials if the repository is private
Some workspaces use ZeroQuarry-managed LLMs. Others require an account-level LLM API key before scans can run. If your plan requires bring-your-own keys, add one under Account before creating a scan.
On a brand-new account, the first sign-in also includes a workflow-mode choice.
Guided scan keeps the scan form quiet and lets ZeroQuarry choose most scan
defaults. Security research exposes the full set of scan and review controls.
AppSec triage keeps review-oriented controls visible while hiding most model
and cost tuning.
Choose a good first target
Pick a repository or archive where you understand the business logic. The best first scan is not necessarily the largest codebase. It is a target where you can judge whether a finding is real.
Good first targets:
- a service with authentication or authorization logic
- a webhook receiver
- a file upload or import feature
- a repository with a recent security-sensitive change
- a small service that has known roles, tenants, or permissions
Avoid starting with a huge monorepo unless you can provide focused notes.
Create the scan
- Open New scan in the console.
- Choose Source code scan.
- Select a project.
- Upload source files or archives, add Git repository URLs, or do both.
- Add focused notes if you know what should be reviewed.
- If your workflow mode exposes them, choose the model and any optional review settings, such as Batch API artifacts or adversarial vendor review.
- Queue the scan.
The scan detail page shows live log output while workers claim and process the job.
Understand what happens next
After you queue the scan:
- ZeroQuarry prepares the target workspace.
- The coordinator maps the target and creates a plan.
- Worker agents investigate focused paths.
- Triage merges weak or duplicate issues and records findings.
- Optional artifact steps create PoCs, disclosure drafts, or other follow-up.
- The report becomes the review surface.
For long-running scans, use email or Slack notifications so the scan does not require a browser tab to stay open.
Account defaults for notifications, model keys, and workspace preferences live under Account.
Write useful notes
Notes are included in the coordinator prompt. Good notes narrow attention without hiding the rest of the attack surface.
Good examples:
Focus on authz decisions in the billing and team-invite flows.
Review webhook signature verification and any retry or replay behavior.
The recent change touched the SAML callback. Follow data flow from the callback
handler into session creation and role assignment.
Avoid notes that ask the scanner to ignore broad classes of risk unless that is really what you want.
Review the report
When the scan completes, open the report. Work in this order:
- Read the summary and severity counts.
- Open high and critical findings.
- Check confidence and vendor-review state if present.
- Read evidence before acting on the conclusion.
- Review PoC material and affected source locations.
- Skim non-issues to see what the scanner investigated.
- Use finding chat for clarification or a different explanation format.
Do not export or share the report until you have looked at the findings that would change a decision.
Follow up
Your next step depends on why you ran the scan:
| If you need to... | Do this next |
|---|---|
| Fix a finding | Use Triage to remediation. |
| Prepare a release decision | Use Release security review. |
| Run the scan repeatedly | Use Continuous CI scanning. |
| Report externally | Use External disclosure workflow. |
| Compare another asset shape | Run a binary or remote scan in the same project. |
Next steps
- Use Projects and scans to keep scans organized.
- Use Private repositories for non-public Git inputs.
- Use GitHub Actions to trigger scans from CI.